Simple Nail Designs at Home – Easy & Elegant DIY Nail Art for Beginners
Table of Contents
Simple Nail Designs at Home
Doing your nails at home isn’t just about saving money or avoiding the long wait at a salon. It’s a small self-care ritual that can instantly boost your confidence, brighten your mood, and give you a chance to slow down for a moment. You don’t have to be a professional nail artist, and you definitely don’t need fancy tools. With a few basic items and a little patience, you can create beautiful nail designs that look polished and put-together.
Whether you want soft and minimalistic designs for everyday life or something cool and aesthetic for photos and events, this guide will walk you through everything. From prepping your nails correctly to mastering simple patterns, we’ll explore easy nail designs you can create right from your bedroom, kitchen table, or wherever you feel cozy.
Let’s get started.
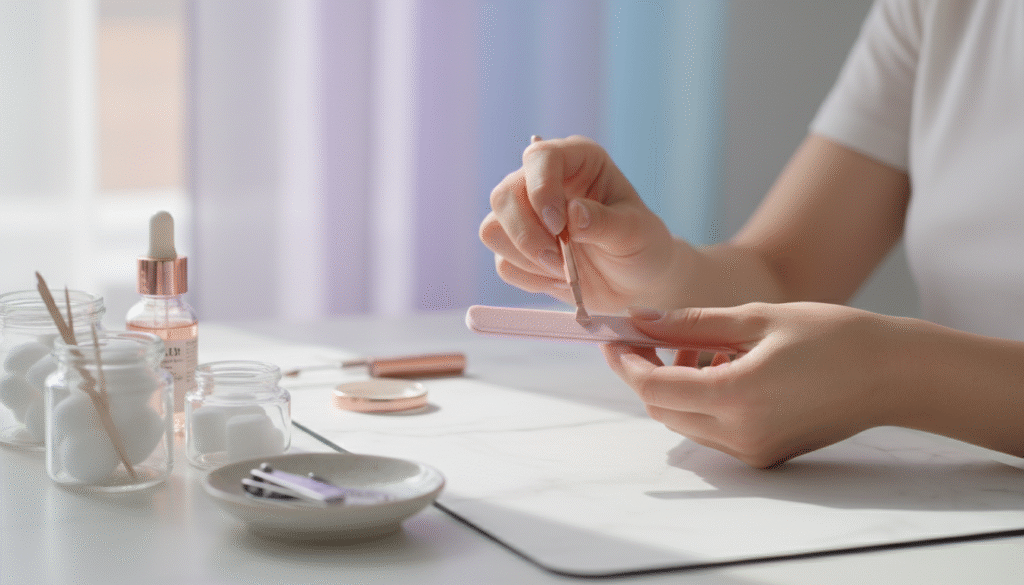
1. Prepping Your Nails: The Foundation of Every Good Design
Before jumping into designs, let’s talk prep. Proper preparation is like doing skincare before makeup — it makes everything smoother, last longer, and look better.
1.1 Trim and Shape
Start by trimming your nails to your desired length. If you prefer round, square, almond, or squoval, shape them using a nail file. Always file in one direction to prevent splitting.
1.2 Push Back Your Cuticles
You don’t need to cut your cuticles (and you shouldn’t unless you’re experienced). Just soak your fingers in warm, soapy water for 3–4 minutes and gently push the cuticles back with a wooden stick.
1.3 Buff the Surface
Lightly buffing your nails removes oils and helps the polish adhere better. Don’t over-buff — just a few gentle swipes.
1.4 Clean and Dry
Use a cotton pad with alcohol or nail polish remover to wipe your nails. This makes a smooth base for your design.
1.5 Apply Base Coat
A good base coat protects your nails from staining and makes the polish last longer. Let it dry before applying color.
With the prep done, you’ve already handled half the work!
2. Simple Nail Designs You Can Create with No Tools
These designs are perfect for beginners because you can easily do them using items you already have — toothpicks, bobby pins, tape, earbuds, or even the brush that comes with your nail polish.
Let’s start with designs that require little to no effort but still look trendy and professional.
3. Solid Color with a Twist
Sometimes the best designs are the simplest. A single color can make a statement, especially if you choose the right shade or add a tiny detail.
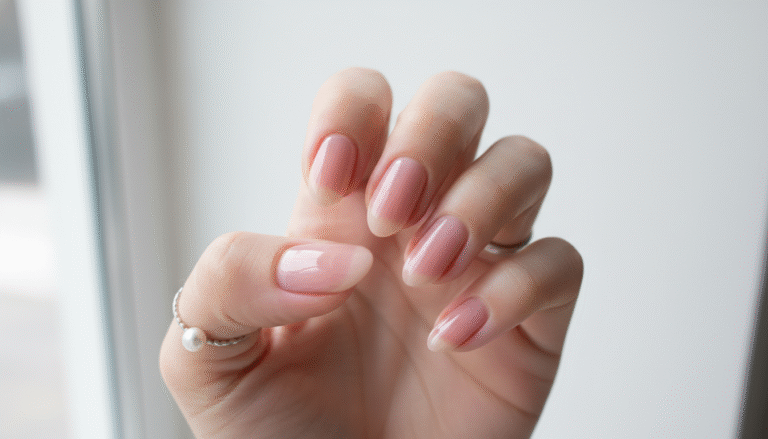
3.1 The Clean Nude Look
Nude nails are timeless. They look elegant, match every outfit, and are perfect for school, work, or casual days.
Tips:
- Choose a nude shade that matches your skin tone.
- Apply 2 coats for a smooth finish.
- Add a glossy top coat to make it look salon-perfect.
3.2 The Bold Red
Red nails are powerful, feminine, and classic. If you want instant confidence, this is your color.
Make it unique:
Add a thin gold line near the cuticle using a toothpick dipped in gold polish.
3.3 The Chocolate Brown Trend
Brown shades are trending on TikTok and Instagram for their warm, cozy vibe.
Make it fancy:
Add a matte top coat to create soft, velvety-looking nails.
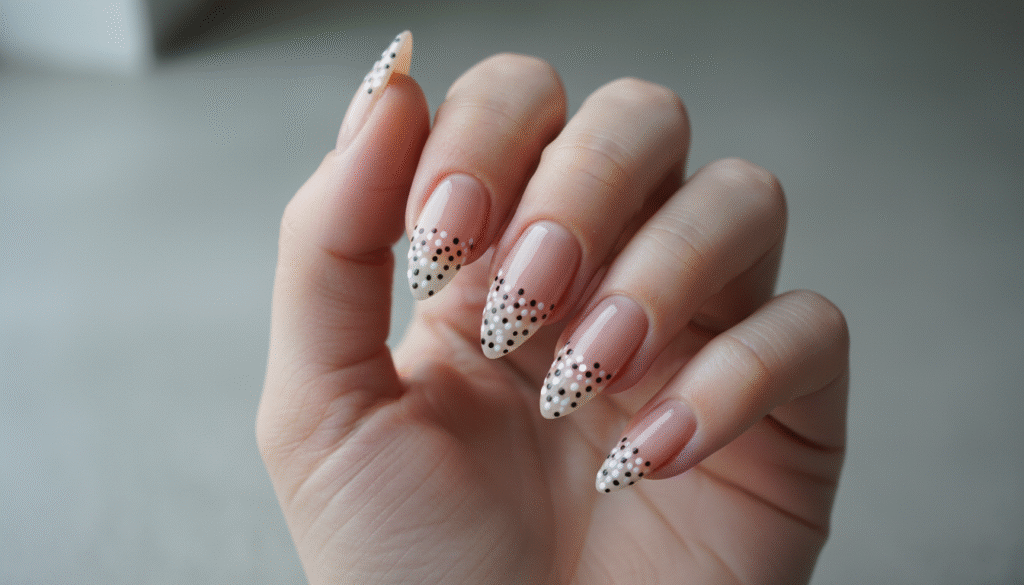
4. Easy Dot Nail Art (Beginner-Friendly)
Dot designs are probably the easiest way to make your nails look artistic without needing steady hands.
What you can use to make dots:
- bobby pin tip
- toothpick
- a ballpoint pen (unused/refill removed)
- pin-head
4.1 Polka Dot Nails
- Apply a base color — white, black, nude, or pastel shades work well.
- Dip your tool into a contrasting color.
- Add dots randomly or in neat rows.
Cute variation:
Pastel dots on white look soft and dreamy.
4.2 Accent Nail Dots
If you want minimal design:
- Paint all nails a solid color.
- Add 3 vertical dots near the cuticle of just one nail.
This gives an elegant, minimalistic touch.
5. Line Art: Simple but Aesthetic
Lines instantly make your nails look modern and clean. You don’t need nail tape or thin brushes — a toothpick or bobby pin can work.
5.1 Single Thin Line
Paint your nails a neutral shade and draw a single vertical or diagonal line on each nail with black, silver, or gold polish.
5.2 Double Line Accent
Make two parallel thin lines on one nail (usually the ring finger) for a stylish accent.
5.3 French Line Tips
This is the easier version of a French manicure:
- Instead of a thick tip, draw a thin line across the top of each nail.
Try colors like:
- white
- gold
- neon
- pastel blue
- baby pink
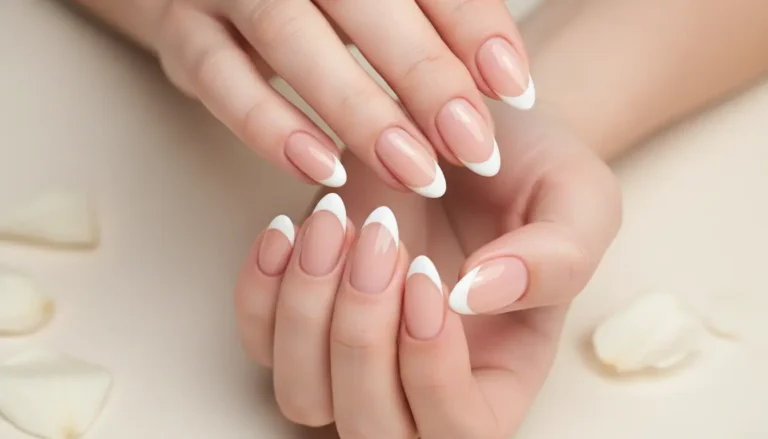
6. The Easiest French Tips Ever
French tips make your hands look elegant and clean. You can do modern versions too.
6.1 Classic French Tips
Use tape if your hand isn’t steady. Place the tape just below the tip and paint the top white.
6.2 Colorful French Tips
Instead of white, try:
- black for a chic look
- red for bold nails
- pastel colors for soft vibes
- glitter for party nails
6.3 Reverse French Manicure
Paint the thin line near the cuticle instead of the tip. This looks classy and very trendy.
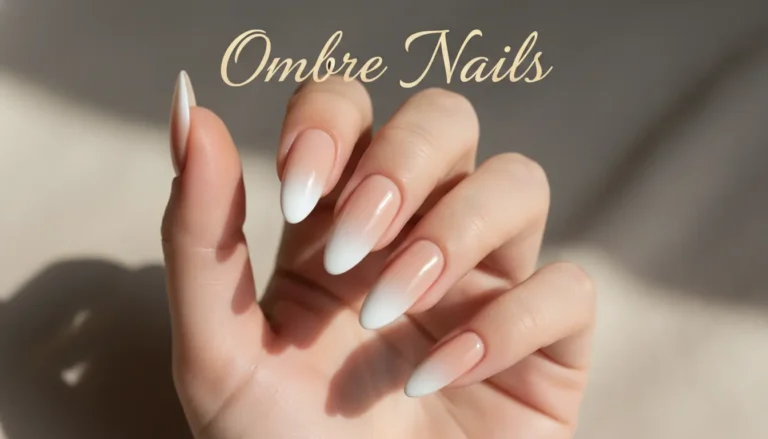
7. Gradient Nails (DIY Ombre Look)
You don’t need a salon sponge — any small makeup sponge works.
How to Do It:
- Paint your base color (white works best).
- On a sponge, apply two colors next to each other — like pink and white.
- Dab it on your nail.
- Repeat for intensity.
- Clean edges with a cotton bud.
- Add top coat.
Easy Ombre Ideas:
- Pink → white
- Blue → white
- Orange → yellow
- Nude → brown
Gradient nails always look like you spent hours on them, even if you did them in 10 minutes.
8. Glitter Designs That Are Effortless but Stunning
Glitter polish is magic — it hides mistakes, looks glamorous, and gives instant shine.
8.1 Glitter Gradient
Apply glitter only on the tips and fade downward by lightly dragging the brush.
8.2 Glitter Cuticle Highlight
Add glitter only near the cuticle for a subtle sparkle.
8.3 Full Glitter Accent Nail
Paint one finger on each hand with full glitter, while keeping others plain.
9. Tape Nail Designs (Perfect Lines Every Time)
If you want clean shapes — squares, triangles, stripes — tape is your best friend.
9.1 Diagonal Color-Block Nails
- Paint your nail a base color.
- After drying, place tape diagonally.
- Paint the other side with a contrasting color.
- Remove tape while wet.
9.2 Triangle Tips
Use two strips of tape to form a triangle at the tip, paint, and remove.
Best Color Combos:
- Black + nude
- White + gold
- Pastel pink + silver
- Navy blue + white
10. Flower Nail Art: Cute, Soft, and So Easy
You don’t need artistic skills. Dot flowers are beginner-perfect.
How to Make Simple Dot Flowers
- Place 5 dots in a circle.
- Add a different-colored dot in the center.
- Add a small leaf using a tiny line (optional).
Color Ideas:
- White flowers on baby blue
- Yellow flowers on nude
- Pink flowers on white
11. Heart Nails for a Soft Girly Look
Hearts look complicated but are easy using two dots.
How to Do It:
- Make two dots next to each other.
- Use a toothpick to drag each dot downward to form the point.
Try:
- Red hearts on nude
- White hearts on pink
- Black hearts on beige for a modern look
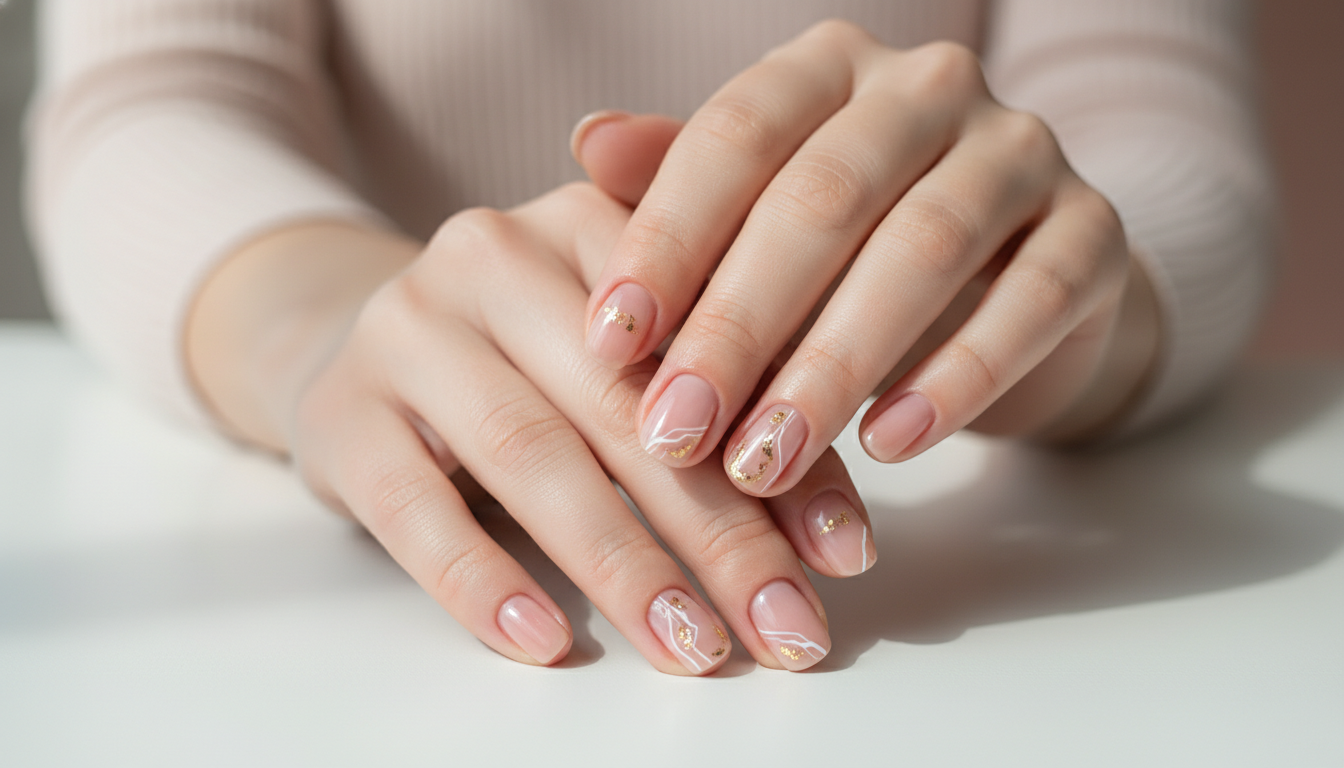
12. Minimalistic Designs for Everyday Wear
If you love clean, aesthetic nails:
- Add one tiny dot at the base of each nail.
- Draw a tiny star or sparkle using silver polish.
- Paint one nail a contrasting shade.
Minimal designs are perfect for school, office, and regular days.
13. Seasonal Nail Ideas (Easy & Cute)
Spring
- Pastel ombre
- Small daisies
- Baby pink French tips
Summer
- Bright neon tips
- Fruit dots (like watermelon, lemon)
- Blue waves
Autumn
- Brown + gold
- Matte nude with black lines
- Orange ombre
Winter
- Snowflakes (dots + lines)
- White + silver glitter
- Cool-toned blue tips
14. Tips for Making Your At-Home Nails Last Longer
Nail designs last longer when you follow a few simple habits:
- Always use base coat + top coat
- Seal the nail tips with your top coat
- Avoid hot water for the first few hours
- Apply cuticle oil regularly
- Wear gloves while washing dishes
These small habits make a big difference.
15. Final Thoughts: Nail Art Is Meant to Be Fun
Doing your nails at home is not about perfection — it’s about enjoying the process. Some days your hands might shake, some lines might not be perfect, and sometimes the polish smudges. But that’s the charm of doing your nails yourself.
Start with simple designs, practice slowly, and soon you’ll be able to create beautiful patterns without even trying. Nail art isn’t a skill you need years to master. It’s just creativity, patience, and practice.
With the designs, tips, and techniques in this guide, you now have everything you need to create salon-worthy nails at home.
So grab your favorite polish and start creating beautiful designs that match your style and personality.